
Saddle height is the single most important setting on your bike. Too low and you lose power and strain your knees. Too high and you rock your hips, hurt your lower back and lose control on descents.
Many riders with knee pain have the same cause: the saddle is in the wrong place.
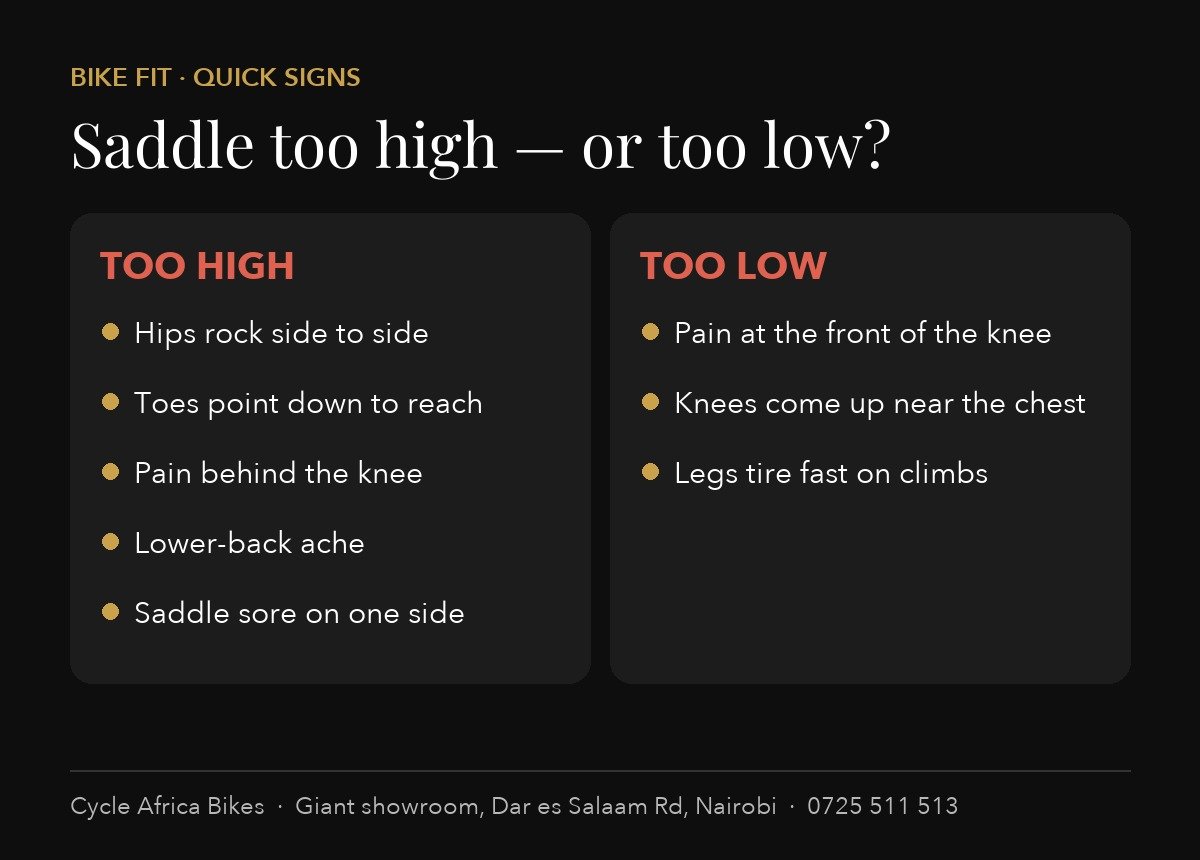
Signs your saddle is too HIGH
- Your hips rock side to side as you pedal.
- You point your toes down at the bottom of the stroke to reach the pedal.
- Pain behind the knee or in the lower back.
- Saddle soreness on one side.
Signs your saddle is too LOW
- Pain at the front of the knee.
- Your knees come up high, near your chest.
- Your legs tire quickly on climbs.
Note: at the right height, you can usually only touch the ground with your toes while sitting on the saddle. That is normal. To stop, slide forward off the saddle and put a foot down.
Four checks you can do at home
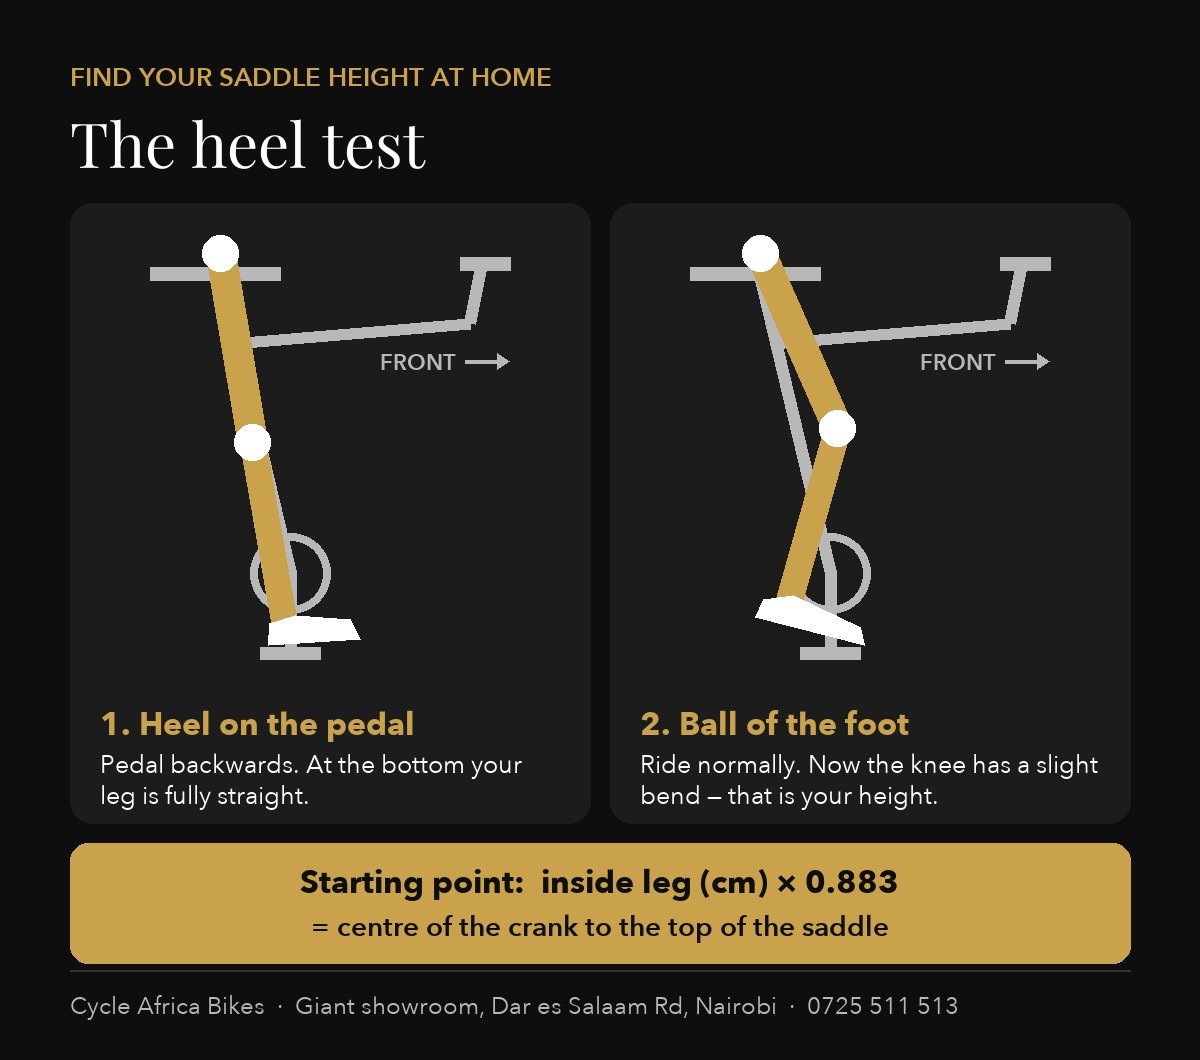
1. The heel test (30 seconds)
Wear your usual riding shoes. Sit on the bike, leaning against a wall. Put your heel on the pedal and pedal backwards. At the bottom, your leg should be fully straight, with your hips level, not rocking to reach. Now pedal normally with the ball of your foot — your knee will have a slight bend. That is the right height.
2. The knee-angle check
At the bottom of the stroke, your knee should be about 25–35° short of a straight leg. Ask a friend to take a side photo or video and check.
3. The hip test
Ride on a trainer or a flat road and have someone watch from behind. If your hips move side to side, lower the saddle 3–5mm at a time until they stop.
4. The inseam formula (starting point)
Measure your inside leg in cm (barefoot, against a wall, pressing a book up firmly between your legs) and multiply by 0.883. That is the distance from the centre of the crank to the top of the saddle. Use it as a starting point, then fine-tune with the checks above.
Three rules when adjusting
- Small steps: move 3–5mm at a time, then ride for a few days.
- Mark it: wrap tape around the seatpost so you can find your height again.
- Never pass the “minimum insert” line printed on the seatpost — it can snap.
Mountain bikes: use your dropper
If your bike has a dropper seatpost, set the full height for climbing, and drop it for descents. Don’t set a compromise height in between.
Need help?
Ask us to check your saddle height when you visit the Giant showroom on Dar es Salaam Road, Nairobi. Call or WhatsApp +254 725 511513.
Buying a new bike? Start with our Giant and Liv size guide.